Overview
Traveling to Japan is an unforgettable experience, but one of the most common frustrations visitors face is figuring out how to stay connected upon arrival. Airport Wi-Fi can be patchy, rental SIM counters often have long lines, and the stress of trying to set up mobile data while jet-lagged can quickly sour your first impression of Japan. The good news? You can avoid all of this by activating your Japan eSIM before departure. Doing so ensures that the moment your plane lands, your phone connects instantly, allowing you to navigate, communicate, and enjoy your trip without delay.
This comprehensive guide explains why pre-activation is so important, provides detailed setup steps for iOS and Android, includes a troubleshooting checklist for common issues, and shares additional travel tips to help you stay connected while saving time and stress. By the end, you’ll have all the knowledge you need to start your journey worry-free.
Who This Is For
This article is designed for international travelers heading to Japan, especially:
- First-time visitors who want a smooth, stress-free arrival.
- iOS and Android users whose devices support eSIM technology.
- Travelers who value time and convenience and want to skip long lines at the airport.
If this sounds like you, read on—your future self at the airport will thank you.
Why Activate Before You Fly
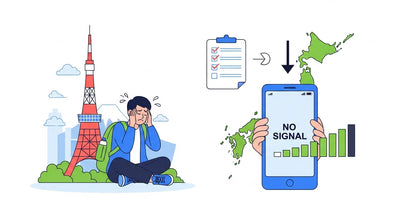
Many travelers assume they can just handle mobile connectivity once they arrive in Japan. However, this often leads to delays and unnecessary stress. Here are the top reasons why activating beforehand is the smarter choice:
1. Skip Airport Hassle
Airports in Japan, especially Narita and Haneda in Tokyo, or Kansai in Osaka, are busy hubs. After a long flight, standing in line at a rental counter for 30–60 minutes is the last thing you’ll want to do. By pre-activating your eSIM, you can bypass this entirely.
2. Peace of Mind Before Departure
Activating from home means you can test your connection while still on stable Wi-Fi. This gives you the reassurance that your eSIM is ready and working before you even leave your country.
3. Avoid Tired-Traveler Issues
After a long-haul flight, you’re likely to feel exhausted. Trying to scan QR codes, navigate complicated instructions, or troubleshoot errors in a foreign airport environment is frustrating. Pre-activation eliminates this stress.
4. Immediate Access to Apps You Need
Upon landing, you’ll likely want to open Google Maps, check train schedules, or show your hotel booking confirmation. Having your eSIM active ensures you can do all this immediately, without scrambling for Wi-Fi or paper maps.
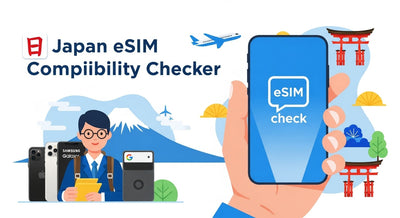
Pre-flight Checklist
To make sure activation goes smoothly, prepare the following:
- Check Your Device Compatibility: Confirm your phone is on the Japan eSIM Compatibility List.
- Stable Wi-Fi Connection: You’ll need a solid connection to complete the setup process.
- Understand Data Roaming: For eSIM, data roaming must be turned ON only for the eSIM line.
- Payment and QR Code Ready: Complete your purchase and have your QR code or activation code available.
Pro tip: Save a screenshot of your QR code in case you can’t access your email during setup.
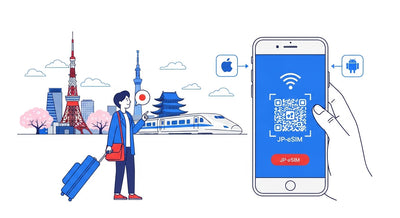
iOS Setup: Step by Step
For iPhone users, here’s how to get started:
- Open Settings → Cellular → Add eSIM.
- Scan the provided QR code, or enter the details manually if necessary.
- Label the new line “JP-eSIM” for clarity.
- Go to Cellular Data, select JP-eSIM as the data line (keep your Primary SIM for calls and texts).
- Turn Data Roaming ON for JP-eSIM.
- If required, enter the APN settings provided by your eSIM provider.
Your iPhone will automatically connect once you land in Japan. Double-check that the eSIM is selected as your data line before departure.
Android Setup: Step by Step
For Android users, the process varies slightly depending on the manufacturer, but here are the general steps:
- Open Settings → Network & Internet → SIMs → Add eSIM.
- Scan the QR code or enter the activation code manually.
- Set Preferred data SIM to JP-eSIM.
- Turn Roaming ON for JP-eSIM.
- If required, enter the APN details provided.
Once complete, your phone will be ready to use the moment you touch down in Japan.
Common Issues and Quick Fixes
Even with proper setup, small hiccups can happen. Here’s how to troubleshoot:
- No Data → Check that Data Roaming is ON for JP-eSIM.
- Still Offline → Verify the APN settings, toggle Airplane Mode, and restart your phone.
- Activation Fails → Make sure you scanned the correct QR code and have stable Wi-Fi during setup.
- Need More Help? → Use our Complete Troubleshooting Checklist.
Offline Must-Dos for Japan
Even with reliable eSIM service, it’s wise to prepare some offline resources:
- Download Google Maps Areas: Save the areas you’ll visit for offline navigation.
- Google Translate Offline Packs: Download Japanese so you can translate menus, signs, and conversations without using data.
- Save Key Documents Locally: Keep hotel reservations, train tickets, and QR codes stored on your phone.
- Data-Saving Practices: Limit auto-play videos and background data. More tips here: Data-Saving Guide.
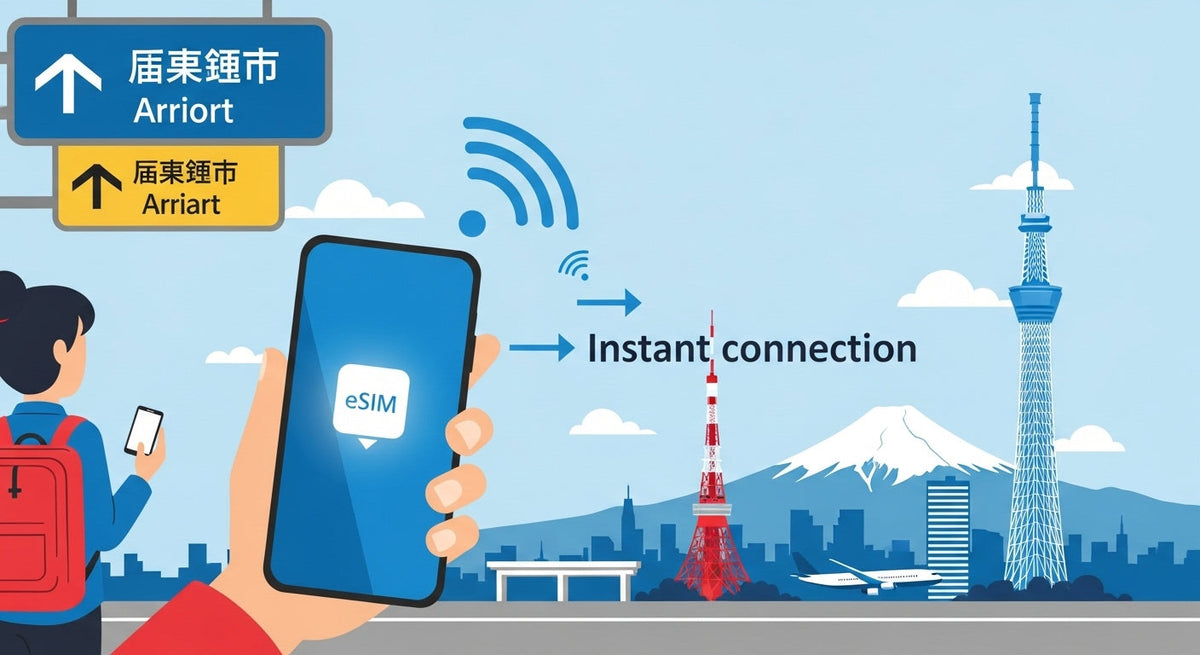
Real-Life Scenario: Arriving Without eSIM vs With eSIM
Imagine landing at Haneda after a 12-hour flight. Without eSIM, you need to find Wi-Fi or queue at a rental counter, then spend 30 minutes setting things up. With eSIM pre-activated, you turn on your phone and open Google Maps instantly to find your train. The difference in stress levels is huge. This small preparation step truly transforms your arrival experience.
Helpful Links
Visuals to Add
To make this guide even easier to follow, consider adding:
- Step-by-step screenshots for iOS & Android setup.
- A visual checklist card for pre-flight preparation.
- An illustrated arrival timeline showing: Plane → Turn on phone → Connected.
Final Thoughts
Activating your Japan eSIM before departure is one of the simplest yet most effective steps you can take to ensure a smooth arrival. It saves time, eliminates stress, and gives you peace of mind knowing you’ll be connected from the moment you step off the plane. Whether you’re coming to Japan for business, sightseeing, or cultural exploration, this one preparation step sets the tone for a successful trip.
🧭 Final Tip: Don’t wait until you land. Check if your device is compatible, follow the setup instructions, and activate your Japan eSIM before you fly. That way, your first moments in Japan will be focused on adventure—not connectivity.
Make Your Japan Trip: Save Smart. Connect Fast.
The real strength of JP-SIM.com is not only its simplicity and convenience, but also its outstanding affordability compared to other options.
No more waiting in long airport lines for a SIM card or carrying a heavy pocket Wi-Fi. With JP-SIM, you can purchase online before departure, scan the QR code, and get connected the moment you land in Japan.
JP-SIM is significantly cheaper than roaming and many competitor services, while still offering flexible plans that match your travel days and data needs. Powered by Japan’s major carrier networks, it provides reliable high-speed coverage across the country—from Tokyo and Kyoto to Hokkaido and rural areas. And with 24/7 multilingual support, even first-time visitors can travel with confidence.